How to Install Easy Stick Wall Pads
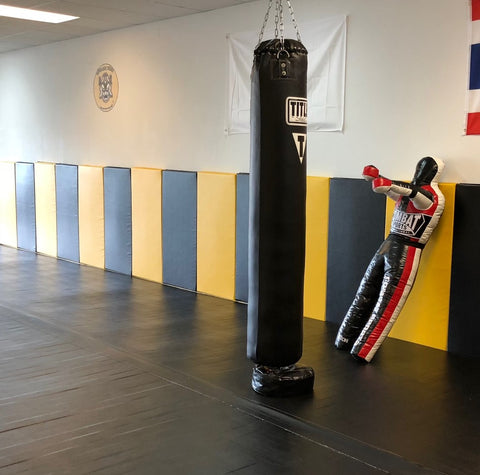
Easy Stick wall pads are great to pad an area that you can not drill into such as mirrors, windows, and tile. Every Easy Stick Wall Padding order is made from scratch on site in Columbus, Ohio. The Easy Stick Wall Pads are constructed with 2” thick polyurethane foam, encased in 14 oz vinyl.
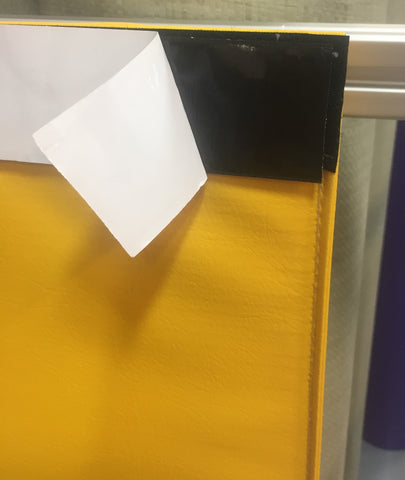
Installing the wall safety pads is as easy as it sounds; easy stick. A fabric fastening strip is sewn on the back of each safety pad, and corresponds to the provided adhesive strip to stick onto the wall. The fabric strip adheres best to flat, smooth, clean surfaces and is designed to support 1-5 wall pads. Adding more than five easy stick panels in a row? Ask us about using aluminum support strips for your padding; 800-431-4372
** The included adhesive fastening strips are not compatible with textured surfaces including but not limited to concrete, brick, and textured paint. Nor will they support adhesive to an unclean surface. If you are unsure if these pads will stick to your surface our recommendation is to purchase one single pad to test your compatibility. Aluminum attachment strips area available for additional purchase in the event the standard adhesive strips are not compatible with your walls. We are not liable if the pads do not adhere to your wall type and this will not qualify you for a refund or return of these items.
Prep the Environment
Create a working space to have all the materials within hands reach.
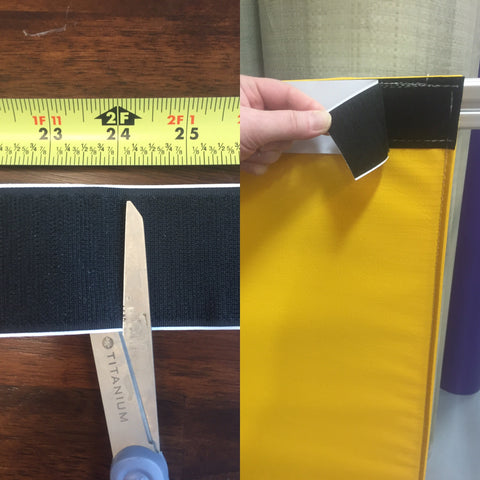
Using the wet towel, clean the wall you want the wall panel to hang. Cut the roll of hard fastening fabric into 2’ sections and attach the hard fastening fabric to the soft fastening fabric located on the back of the panel.
Step 1: Create a guideline on the wall
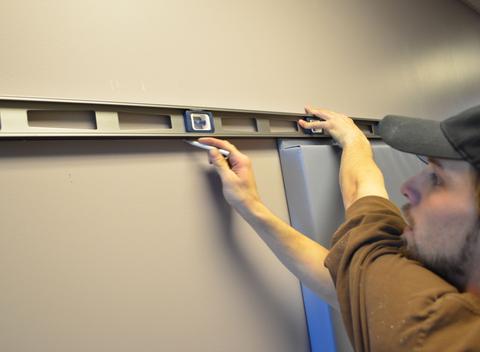
The installation process is simple if you can indicate on the wall how high the safety pads will be hanging. Using the pencil and level, create an even straight line that is parallel to the floor.
Step 2: Attach the wall pad
One panel at a time, peel off the plastic from the hard fabric fastening strip and apply with firm pressure on the horizontal guideline you created from step #1.
Alternative
If you prefer not to use the adhesive backing on the fastening strip, you can staple the hard fastening strip to the wall.
Step 3: Wait 24 hours to remove
With force, you can break the fabric strip connection and remove safety padding from the wall. Do not take off the adhered hard fastening strip that is the wall. To purchase additional adhesive fastening strips, please contact our sales department.
If you have any questions before your installation a member of our customer service department will be happy to help you. Click here to send an email.
Sending in photos of your finish project is highly encouraged and appreciated.
Next →
← Previous


