
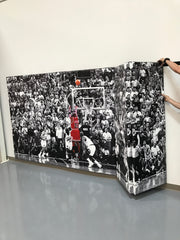
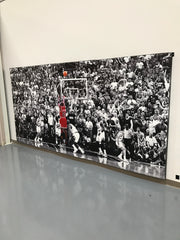
How to install removable folding wall pads
How To Install Removable Folding Wall Pads
What you will need:
- Level
- Self Drilling Screws
- Pencil
- Stud Finder (if you have a wall with studs)
- Electric Screw Driver
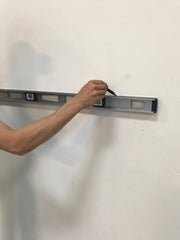
Step 1. Create a guide on the wall to designate where the top of the wall pads will go.
The whole installation process is easiest if you can indicate where the top of all of the wall pads will be. This will also be where the top of the included aluminum hook and loop strips will be adhered to the wall. The best way to do this is with the help of a laser guide or level to create a straight, even line that is parallel to the floor. The height of this line will depend how far up the wall you will be hanging the wall pads, and the height of your wall pads. Most people prefer the bottom of the wall pads to be directly above any baseboard or trim that may be on the wall.
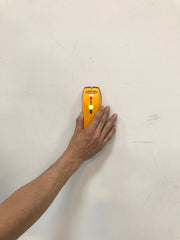
Step 2. Find The Studs (ignore this step if you are hanging the wall pads on a cement, stone, or brick wall).
Mark where the studs are so you know where to drill the screws into the wall. Each removable folding wall pad kit will come with strips of aluminum covered in fastening fabric to attach to the wall. This will create a long sturdy hook and loop strip for your folding wall pads to hang from.
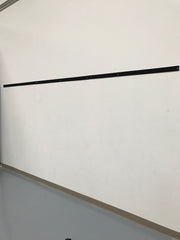
Step 3. Install the aluminum fastening strips
Line the fastening strips up with the level pencil line created in step 1.
Using your drill and self drilling screws drill through the aluminum fastening strips into the wall using your studs to determine where the screws should occur on the length of the wall.
*Using self drilling nails in this step is important, as will allow you to drill directly through the metal strip and attach to the wall simultaneously. The aluminum strips DO NOT come with pre drilled holes for screws*
If you received multiple fastening strips for your wall pads, make sure that they are placed as closely next to one another to create a continuous strip for hanging the wall padding.
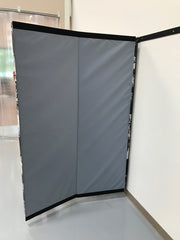
Step 4. Hang the Folding Removeable Wall Pad
If you have a buddy this process is much easier with two people! Unfold the wall pad and start hanging the wall padding starting from one end. Line up the soft fastening strip found on the pad with your mounted aluminum fastening strip on the wall.
Next →
← Previous


